As an Amazon Associate, we earn from qualifying purchases. Some links on this site are affiliate links at no extra cost to you. Our recommendations are based on thorough research and editorial judgment.

Understanding Gradient Lip Application Methods
When mastering gradient lips, we start with a nude base—think concealer or a soft beige—to even out your natural tone. Then, we apply a darker shade like NARS Powermatte around the edges, blending inward with a flat shader brush to avoid clown lips, while a lighter tint, maybe NYX Butter Gloss in Cherry Pie, brightens the center. Exfoliation and a lip primer are game-changers for smooth, long-lasting color. Stick with us, and you’ll soon be blending like a pro with all the insider tips.
Key Takeaways
- Start with a nude or concealer base to neutralize lip color and create an even canvas.
- Apply a darker lipstick shade to the lip center, blending outward for a natural gradient effect.
- Use a flat shader brush or clean finger to blend colors softly from dark to light edges.
- Layer shades gradually and blend with tapping or circular motions to avoid harsh lines.
- Finish with clear or tone-matched gloss to enhance the gradient and maintain a polished look.
The Basics of Gradient Lip Techniques
When it comes to mastering gradient lips, there are a few key steps we just can’t skip if we want that effortlessly soft, full look. First, we start by applying a nude or concealer base to neutralize any natural pigment on our lips—that’s the foundation for a flawless blurred lip effect. Next, the darker shade goes right in the center, and here’s the trick: we gently blend it outward with a finger or brush, letting the edges remain lighter for that perfect fade. This contrast is what brings the gradient lips to life. Plus, regular exfoliation is a lifesaver—it smooths out any dryness and guarantees our colors glide on seamlessly. Trust us, this method keeps your lips looking naturally plump without screaming “makeup artist at work.” Using a lip primer can also enhance the adherence and longevity of your liquid lipstick colors.
Essential Tools and Products for Gradient Lips
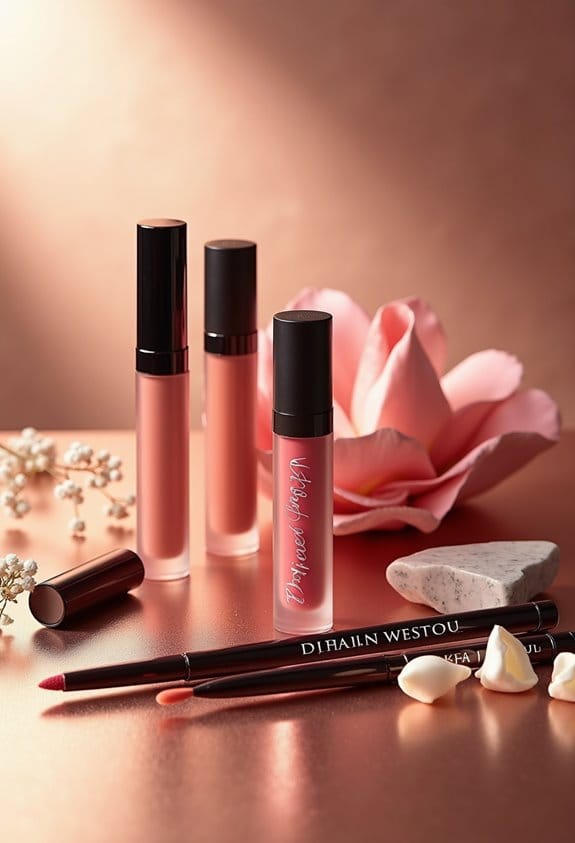
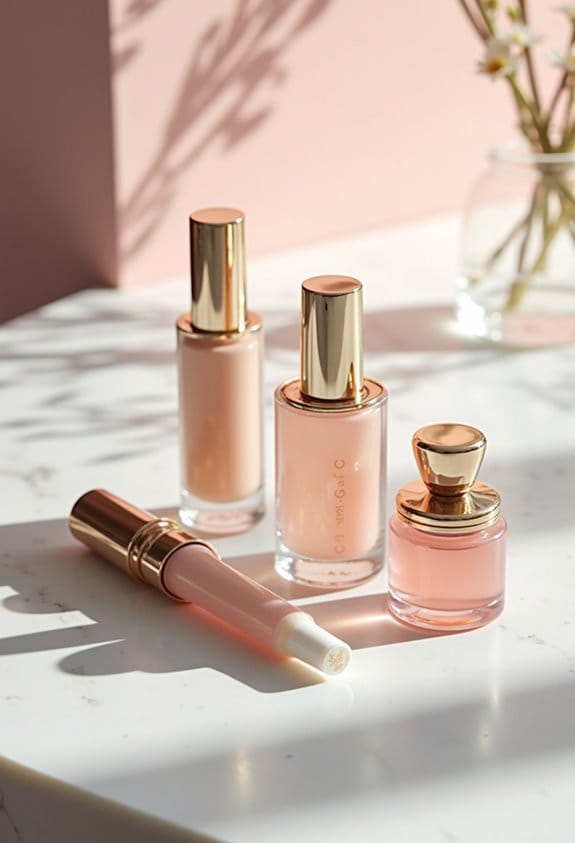
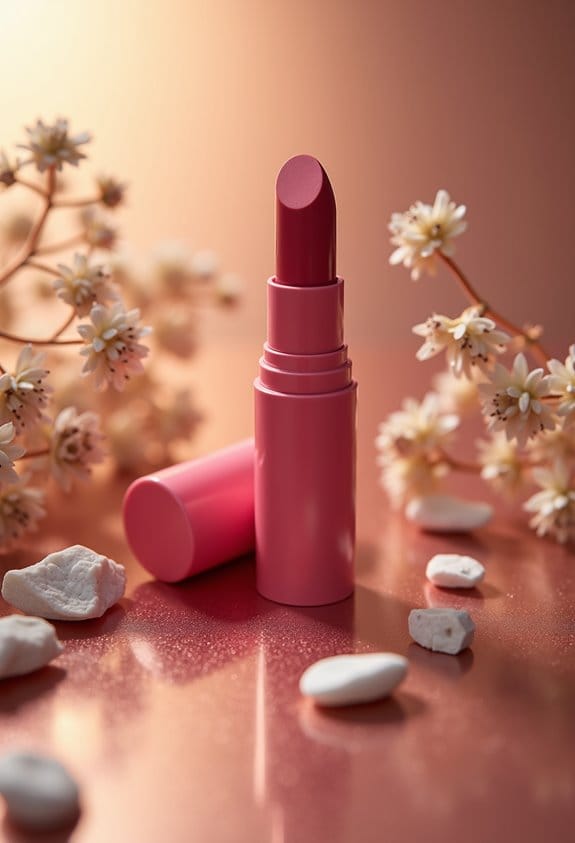
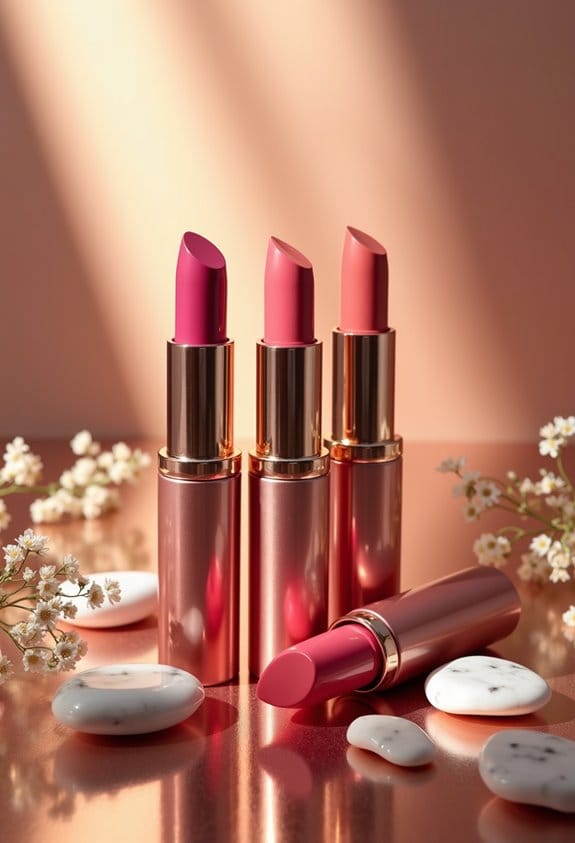
Perfecting gradient lips isn’t just about technique—it also comes down to having the right tools and products by your side. As any makeup artist will tell you, the secret starts with two lipstick shades: a darker one for outlining and a lighter shade to brighten the center, creating that signature depth. We swear by the flat shader brush, like the Rephr #02, for blending these colors smoothly—no harsh lines allowed! Blotting tissues are also lifesavers, helping us tone down the pigment so the lighter shade pops perfectly. For product picks, Nars Powermatte Lip Pigment and Revlon Super Lustrous Lipstick are top choices, offering matte finishes with ease. Want a cheeky shine? NYX Butter Gloss in Cherry Pie adds dimension without overpowering the gradient lip look. Having a well-organized makeup cart with compartments can significantly streamline your process and keep all these essential tools within easy reach.
Step-by-Step Guide to Applying Gradient Lips
Since nailing the gradient lip look relies heavily on layering and blending, we recommend starting with a nude pink or beige base to even out your natural lip tone; this neutral canvas makes those vibrant center colors pop beautifully. Next, apply a darker lipstick shade all over your lips, then rub them together for even pigment and lightly blot with a tissue. We then dab a lighter, vibrant color in the center, focusing on softly fading the edges to achieve that signature gradient effect. Using a flat shader brush, blend where the dark and light colors meet, ensuring a smooth flow. Finally, press your lips together and re-blend if needed for a polished, long-lasting gradient lips finish that feels effortless, even if you’re not a pro yet! For best results, choose lipsticks with hydrating ingredients like shea butter to keep your lips smooth during application.
Tips for Blending and Achieving Seamless Transitions
Getting that flawless gradient look doesn’t stop with just layering colors; blending is where the magic truly happens. To blend lips like a pro, start from the corners and gently work towards the center using a clean finger or a fluffy brush—Sigma L05 is our go-to for smooth distribution. Tap in small circular motions to soften edges and merge darker outer shades with lighter centers seamlessly. If you spot harsh lines, no worries—just keep blending until everything fades naturally. Remember, the darker tones belong at the edges, with lighter ones in the middle for that perfect gradient. Feel free to reapply and blend multiple times; it’s like lip magic that rewards patience. Trust us, your lips will thank you for the effort—effortlessly stunning! For longevity, consider using a long-lasting base to help your gradient lip colors stay put throughout the day.
Popular Color Combinations and Trends
We’ve noticed five standout color combos that nail the gradient lip trend right now, blending sophistication with playfulness. One classic favorite is deep berry paired with soft pink or dusty rose—ideal for fall, offering rich color payoff with subtle shifts between different shades. For a modern twist, brown nudes mingle beautifully with vibrant reds or pinks, creating a sleek but eye-catching look. Summery vibes come from orangey corals blended into lighter peach tones, giving a fresh, easy-going effect. Two-toned lips featuring mauve and vibrant fuchsia pack a bold punch, perfect for social media buffs. Finally, mixing warm deep plum with cool lavender’s contrasting undertones offers a unique spin. These combos emphasize how different shades can create dynamic, wearable gradient lips we love. To keep the lips hydrated and add a luxe finish, many opt to layer colors with clear hydrating lip glosses, which provide shine without stickiness.
Pros and Cons of Using Gradient Lips
The allure of gradient lips goes beyond those eye-catching color combos we just explored; there’s a balance of perks and quirks that come with rocking this look. On the plus side, gradient lips give us a super pretty, fuller appearance without needing exact lines, making overlining more forgiving and natural-looking. Plus, mixing shades like Laneige No. 9 with Peripera’s Ink Velvet #11 lets us express our style uniquely. But, let’s be real—it takes patience and a steady hand to blend colors flawlessly, and touch-ups aren’t as quick as a simple swipe of lipstick. There’s definitely a learning curve, but for those who love experimenting and don’t mind a bit of extra effort, gradient lips offer a stylish, polished finish worth the time investment. Using a hydrating lip balm like LANEIGE Lip Glowy Balm beforehand can enhance comfort and create a smooth base for better color blending.
Enhancing Gradient Lips With Additional Products
Enhancing gradient lips with a few well-chosen products really takes the look from pretty to polished, and trust me, it’s worth the extra steps. To make your lips look defined and prevent color bleed, applying a clear lip liner first is a game-changer. For that luscious, dimensional pop, dab a bit of Bite Beauty Cashmere Lip Cream or NYX Butter Gloss right in the center of the lips—that’s the BEST LIP trick for a subtle glow. If we’re feeling dramatic, layering a darker liner like MAC Nightmoth on the edges before blending pumps up fullness. And don’t forget to highlight above the cupid’s bow and center bottom lip; it reflects light beautifully, lifting your gradient masterpiece without looking overdone—because, really, who wants to look like they tried too hard? For enhanced comfort and wear, consider products containing moisturizing ingredients such as vitamin E and natural oils.
Maintaining and Touching Up Gradient Lip Looks
Keeping that gradient lip look fresh throughout the day takes a bit of planned TLC, but it’s totally manageable once you know the ropes. We always recommend carrying both the darker and lighter lipsticks for quick touch-ups—especially focusing on the center of your lips where wear tends to show first. After applying your gradient, blot gently with a tissue to cut down on excess product; this little trick reduces transfer and helps your color stick around longer. When fading sneaks in, reapply the darker shade precisely on the inner lips, then softly blend outward to revive that signature gradient effect. And don’t forget—regular exfoliation guarantees a smooth canvas so your lipsticks adhere better and blend seamlessly. Gloss lovers, a clear or tone-matched gloss can refresh your look without spoiling the gradient vibe. Easy-peasy! For maintaining hygiene during touch-ups, using tools with synthetic bristles ensures easier cleaning and better skin compatibility.
Frequently Asked Questions
How to Apply Gradient Lipstick?
Let’s enhance various lip shapes by choosing color combinations wisely. We start with darker shades on edges, blend toward the center, then add lighter colors inside. This technique creates depth and a beautiful gradient effect for you.
How to Do an Ombre Lip Step by Step?
To create an ombre lip step by step, we start with base concealer, apply darker lipstick on edges, lighter shade at the center, then perfect lip color blending using ombre techniques, finishing with gloss for depth and shine.
What Is the Gen Z Eyeshadow Lip Trick?
Curious about Gen Z trends? The Gen Z eyeshadow lip trick uses eye makeup to create custom lip colors by layering matte eyeshadows with gloss for a bold, gradient effect. Isn’t it cool how versatile our makeup can be?
How to Correctly Apply Lip Tint?
We start by exfoliating and applying balm, then use lip tint techniques—applying color to the center and blending outward. This color blending creates a natural gradient, and finishing with gloss gives lips a luscious, hydrated look.