As an Amazon Associate, we earn from qualifying purchases. Some links on this site are affiliate links at no extra cost to you. Our recommendations are based on thorough research and editorial judgment.

The Art of Eyeshadow Transition Shades Explained

We all know that nailing gradients shades is key to blending eye makeup like pros—think of them as the glue between your lid color and brow highlight, smoothing out harsh lines. Usually, we pick shades just a couple of tones darker than our skin—warm undertones love peachy tones; cool tones lean towards taupe or mauve. Using a primer and fluffy brush really helps with smooth fades, and palettes from Urban Decay or MAC Wedge are crowd favorites for buttery blends. Stick around, and you’ll pick up some neat tricks for flawless gradients.
Key Takeaways
- Transition shades are intermediate colors blending eyelid shadows with brow highlights for a seamless makeup look.
- Choose transition shades one or two shades darker than your skin tone, matching undertones like peach for warm or taupe for cool.
- Apply transition shades in the crease using a soft brush with windshield wiper motions after priming the eyelid.
- Avoid overapplying or spreading transition shades too evenly to prevent harsh lines and maintain color subtlety.
- Use eyeshadow palettes with versatile mattes and shimmers, like Urban Decay Naked or MAC Wedge, for smooth blending.
Understanding the Role of Transition Shades in Eye Makeup
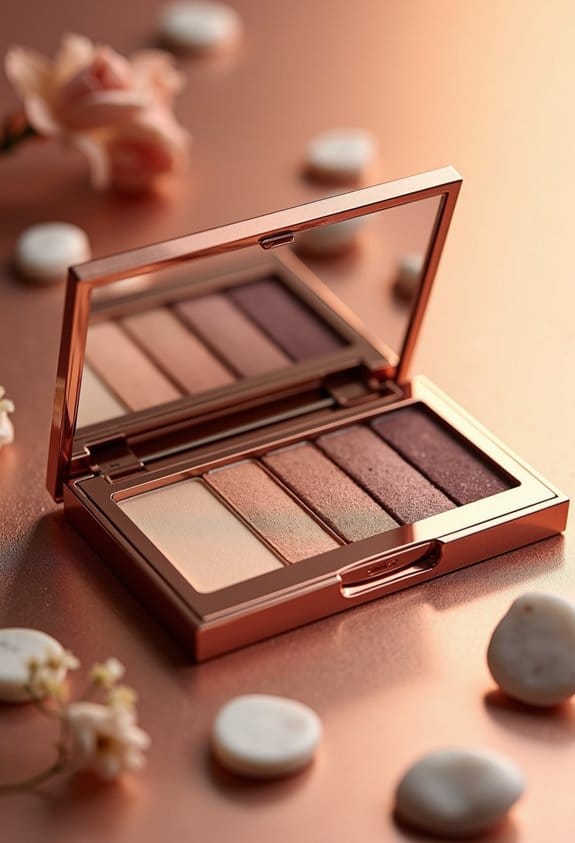
When it comes to mastering eye makeup, intermediate shades are like the unsung heroes of a seamless look—we might not always notice them popping front and center, but without these trusty mid-tone colors, blending our eyeshadows would feel more like a color clash than a graceful gradient. The blending shade, usually just a shade or two darker than our natural skin tone, is key to creating that seamless connection between the lid and brow. When we apply the blending shade using a soft, fluffy brush in small circular motions, it helps soften harsh lines and adds dimension to our look. Think of a neutral shade working behind the scenes—quiet but essential—setting the stage for more vibrant colors to shine. Without it, our eye makeup would miss depth and polish. To enhance the longevity of these blended shades, it is crucial to use a quality primer to enhance wear time and prevent creasing for an all-day flawless finish.
Choosing the Perfect Transition Shade for Your Skin Tone
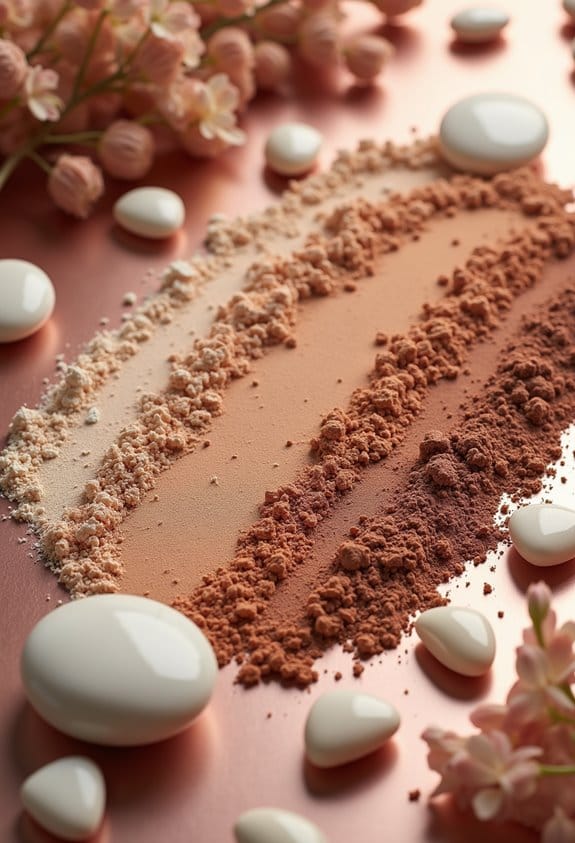
Because the blending shade acts like the bridge between our eyelid color and brow highlight, picking the right one for your skin tone is essential to avoid a muddy or patchy look. We’ve learned that choosing shades darker than our natural skin tone—usually one or two shades—creates that seamless blend every eye look craves. If you have warm undertones, peach or caramel blending shades work wonders, while cooler skin tones might find taupe or soft mauve more flattering. Testing eyeshadow colors before committing is a game-changer; undertones can really shift what you see on your lid. Brands like NYX Professional Makeup’s “Nutmeg” or Urban Decay’s “Teak” offer plenty of options tailored for different tones, so don’t hesitate to experiment—your perfect blending shade is just a swipe away! Many popular palettes, such as the Urban Decay Naked Palette, offer a mix of mattes and shimmers that simplify finding the ideal transition shade.
Step-by-Step Guide to Applying Transition Shades
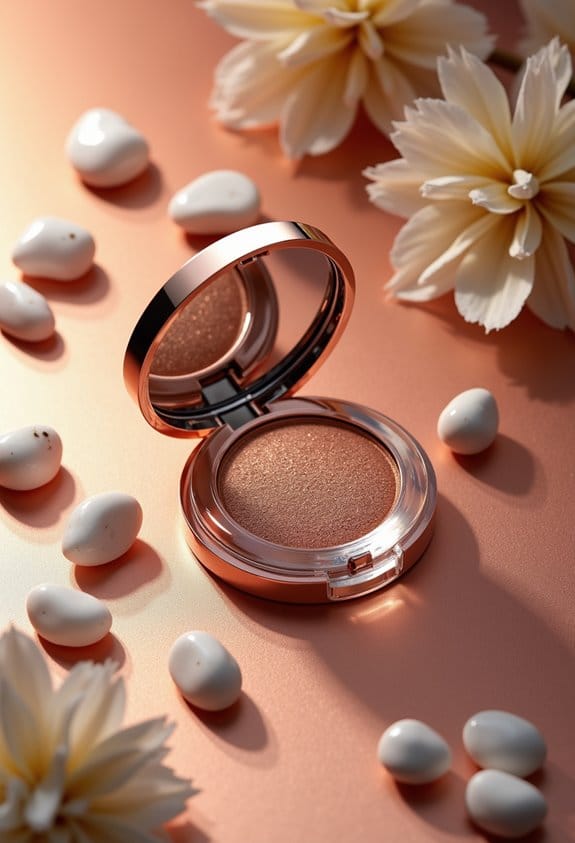
Although mastering shift shades might seem tricky at first, once we get the hang of the right technique, it’s surprisingly straightforward—and totally worth the effort. First, we apply an eyeshadow primer to create a smooth base; this step not only helps the blending shades stick better but really amps up color vibrancy. Next, choose a blending shade one or two shades darker than your skin tone and use a fluffy brush to apply it in the crease. Blending is key—using gentle windshield wiper motions, we blend to create a seamless gradient without harsh lines. From there, layering lid colors and deepening outer corners builds depth. Finally, a little highlight on the inner corners and brow bone polishes the look perfectly. Easy, right? Using cruelty-free and toxin-free ingredients in your eyeshadow palette choice can enhance both your look and your ethical standards.
Common Application Mistakes and How to Correct Them
How often have we slapped on shift shades only to end up with a muddy mess instead of that smooth, gradient effect we’re aiming for? One common application mistake is spreading the blending shade all over the eyelid instead of focusing it in the crease, which washes out deeper colors. Starting with the blending shade can sometimes lead to a less vibrant look, so layering darker shades first helps. Overdoing it also masks subtlety—light, buildable strokes are key. Forgetting an eyeshadow primer? That causes uneven patches and creasing; primer sets the stage perfectly. And let’s not ignore harsh lines—if we don’t blend properly using small circular motions, the blending shade’s magic fizzles. Trust us, these tips change the game and save your lids from looking like a messy canvas! Choosing formulas with staying power for your makeup ensures that your eyeshadow stays flawless throughout the day.
Exploring Neutral, Warm, and Cool Transition Shades
When it comes to perfecting our eye makeup, choosing the right shift shade can feel like decoding a secret language, but luckily, neutral, warm, and cool tones offer a reliable roadmap. Neutral tones like Urban Decay’s Naked or MAC’s Wedge are our all-star interchange shades—they blend beautifully with almost any eyeshadow and flatter all skin tones. For those aiming to add depth, warm tones such as theBalm’s Matt Singh and NYX’s Blame It on Midnight bring warmth that brightens deeper, smoky looks and complement warmer complexions perfectly. Meanwhile, cool shades like Urban Decay’s Laced and Milani’s Taup-e-ary balance out warm lid colors, ideal for cooler skin tones. Picking the right interchange shade is about understanding your undertones, so don’t be afraid to experiment and find that sweet spot. Incorporating a mix of matte, shimmer, and foil textures can enhance the versatility of your transition shades for stunning eyeshadow looks, as seen in popular cool-toned palettes.
Recommended Products for Transition Shades
A handful of standout products make selecting the perfect switch shade feel less like a guessing game and more like a fun treasure hunt. For those refining their eyeshadow shades, the Urban Decay Eyeshadow collection is a goldmine—classic “Naked” and cool-toned “Laced” shift shades fit right in the creas area for natural depth. MAC’s “Wedge” is our go-to for buttery texture and seamless blending, making mid-tone shifts effortless. For warmer looks, TheBalm’s “Matt Singh” adds smoky warmth while Milani’s “Taup-e-ary” expertly balances heat. Stila’s In the Light Palette contains “Bliss,” a versatile shade perfect for layering, enhancing every eye shape. Ultimately, these products offer reliable, beautiful results without needing to be an eyeshadow pro—trust us, your creas area will thank you. Many of these palettes also feature high pigmentation and blendable formulas, ensuring your transition shades look seamless and last all day.
Techniques for Blending Transition Shades Seamlessly
Although blending change shades might seem like a simple step, getting it just right can totally transform your eye look from “meh” to masterpiece. First, grab a soft, fluffy eyeshadow brush to apply your blending shade lightly in the crease. Remember, using a subtle touch builds the blend color gradually, preventing harsh lines. To blend seamlessly, use small circular motions; this helps create a smooth gradient where the lid meets the brow bone. Don’t forget to pause and soften any stubborn edges with a clean brush—that’s the secret to that flawless, seamless finish. Trust me, mastering this technique will make your blending shades work like magic, effortlessly tying your entire eye look together without looking like you accidentally slept in your makeup! For added vibrancy and staying power, consider using a damp brush when applying metallic eyeshadow.
Combining Transition Shades With Other Eye Makeup Elements
Getting the perfect blend in our crease sets the stage, but pairing that with other eye makeup elements is where things really start to sing. When we apply a blending shade in the crease area, it helps create a smooth gradient between the lid color and brow highlight, giving our eye makeup look a polished finish. Pairing this with eyeliner that complements the blending shade makes the whole design cohesive, while adding mascara amps up the definition, helping add depth to our eyes. We love how a matte blending shade contrasts beautifully with a shimmery lid color, making the eyeshadow pop without looking like we lost a fight with a paintbrush. So, embracing these combos guarantees our eyeshadow game is always on point and effortlessly chic. Using brushes with soft synthetic bristles enhances blending and ensures a flawless transition in the crease.
Enhancing Eye Dimension With Transition Shades
When we use blending shades thoughtfully, they do more than just blend colors—they actually add real depth and dimension that can elevate any eye look. Picking a blending shade just one or two tones darker than our skin helps define the crease naturally, without looking like we got into a fight with our makeup brush. Applying it with a soft, fluffy blending brush is key to softening harsh lines and crafting that seamless gradient from lid to brow bone. This isn’t just about pretty colors; it’s about creating visual interest and sophistication. Whether we opt for warm browns or cool taupes, the right blending shade can enhance dimension beautifully, making our eyes pop subtly but surely—because sometimes less is definitely more, even with makeup! Using a mix of finishes like matte and shimmer helps create more versatile and dimensional eye looks.
User Experiences and Tips for Selecting Transition Colors
Picking the perfect shift shade can feel like searching for a unicorn, but leaning on user experience helps narrow down what works best for most of us. Many recommend using a blending shade just one or two shades darker than your natural skin tone—it blends your eyelid color smoothly with your brow bone. Neutral tones like MAC Wedge or Urban Decay Naked are crowd favorites for creating versatile eyeshadow looks that suit many palettes. Experimenting with warm or cool shades is key; warm tones, like Too Faced’s Peanut Butter, deepen richer looks, while cool tones balance warm lids nicely. Plus, a matte blending shade in the crease paired with shimmer on the lid creates a polished, professional finish without the fuss—because ain’t nobody got time for complicated blending! Additionally, selecting palettes with a good shade range including mattes and shimmers ensures more versatility for creating seamless transitions.
Frequently Asked Questions
What Is the Transition Shade in Eyeshadow?
A shift shade definition is a matte, subtle color helping us blend eyeshadow smoothly. Understanding color theory basics and blending techniques highlights the importance of shifts, essential for creating depth and a polished, seamless eye makeup look.
How to Apply Transition Shade Eyeshadow?
We start by choosing a soft eyeshadow brush for blending techniques, applying the blending shade with gentle color layering methods in the crease. For makeup beginner tips, we emphasize gradual building to create depth effects without harsh lines.
What Are the Best Transition Eyeshadow Colors?
We see warm neutrals and earthy shades as our trusty bridges, cool tones bring calm balance, bold contrasts add drama, and soft pastels whisper subtlety. Together, these colors guide our eyeshadow shifts perfectly every time.
What Eyeshadow Colors Look Best on Older Eyes?
We recommend age-appropriate hues like soft taupe and warm peach with flattering undertones. Using gentle blending techniques helps minimize eyelid textures. Keeping color intensity moderate guarantees a smooth, natural look that enhances mature eyes beautifully.